

One of the most important steps in a Green Screen production is lighting. With the wrong lighting, the entire production can go awry and the final product may not come out as desired. There’s plenty of pressure when it comes to lighting. It may even seem intimidating. Well, Bravo Studios is here to take those worries away. In fact, all of our stage rentals in New York City come with lighting packages.
Check them out here —
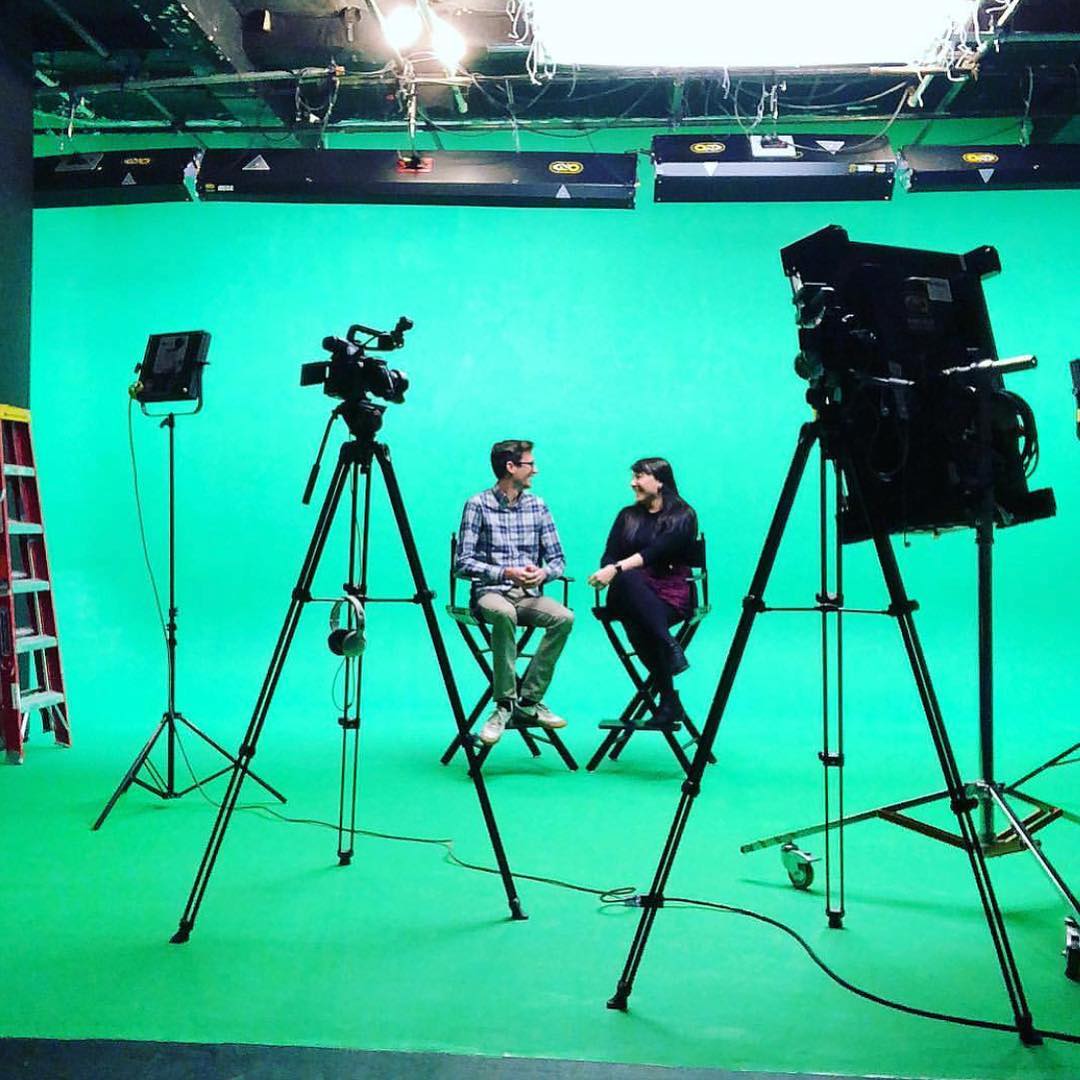
Bravo Studios 27th St. Studio A Lighting Package

The Equipment Set Up
Make sure your Green Screen has zero wrinkles, scuffs, tears, or chips.
Remove any reflective material in the room.
Make sure there isn’t anything “green” that isn’t intentionally meant to be keyed out in post-production.
Have lighting that is all the same type or have lighting that will provide the same temperatures and an even color balance.
Position the Lights and Subject
Position one light on either side of the Green Screen. Do not position the light directly in front of the green screen. 45 degrees is a great angle and make sure you place it a few feet away from the Green Screen.
If the Green Screen is very large and the lights you are using can’t reach all of the space, position an additional two lights at the bottom of the Green Screen pointing up.
Now, check to see that all areas of the Green Screen are lit. Ideally, you want to see one consistent color throughout.
Your subject should be in position far enough from the Green Screen to reduce the amount of light being reflected onto them from the Green Screen (green halo effect). 5-10 feet is a good distance.
Use a key light to light your subject. When lighting your subject, think about the lighting in the final product.
Then use a fill light opposite of the key light to reduce all shadows on the subject. A fill light is used to diffuse the key light so it should be softer and should be a weaker light.
Finally, place a backlight behind and to the side of the subject. This will separate the subject from the background by causing a halo effect. The subject will look 3-dimensional this way.
With this outline, you can then remove or add light as needed.